AC Joint Test
Explore AC Joint Test procedures, results interpretation, and next steps for managing injuries like AC joint separation and arthritis.


What are AC joint injuries?
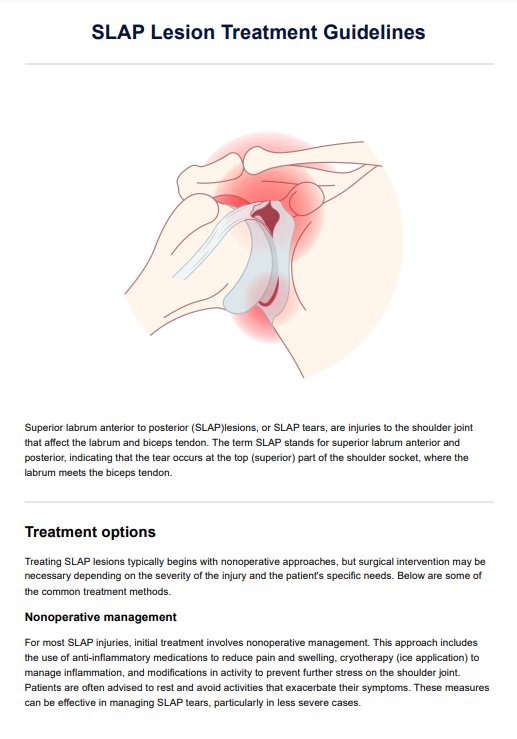
Acromioclavicular (AC) joint injuries are a common cause of shoulder pain and dysfunction, affecting individuals across various age groups and activity levels. These injuries involve the acromioclavicular joint, where the clavicle (collarbone) meets the acromion process of the scapula (shoulder blade). Understanding AC joint injuries' types, causes, and presentations is crucial for accurate diagnosis and appropriate management.
AC joint injuries can manifest in several forms, each with its unique characteristics and treatment implications:
Sprains and strains
Mild to moderate injuries to the ligaments supporting the AC joint are classified as sprains. These often result from falls or direct blows to the shoulder. Depending on the severity, sprains can range from minor stretching of the ligaments to partial tears.
Separated shoulder
A separated shoulder, or AC joint separation, is a more severe injury involving complete or partial tearing of the ligaments supporting the AC joint. This injury is typically graded on a scale of I to VI, with higher grades indicating more severe ligament damage and joint displacement.
Osteoarthritis
Chronic wear and tear or previous injuries can lead to osteoarthritis of the AC joint. This degenerative condition causes pain, stiffness, and reduced range of motion in the shoulder, particularly with overhead activities.
Osteolysis
Repetitive stress on the AC joint, often seen in weightlifters or athletes performing frequent overhead activities, can lead to distal clavicular osteolysis. This condition involves bone resorption at the end of the clavicle, causing pain and weakness.
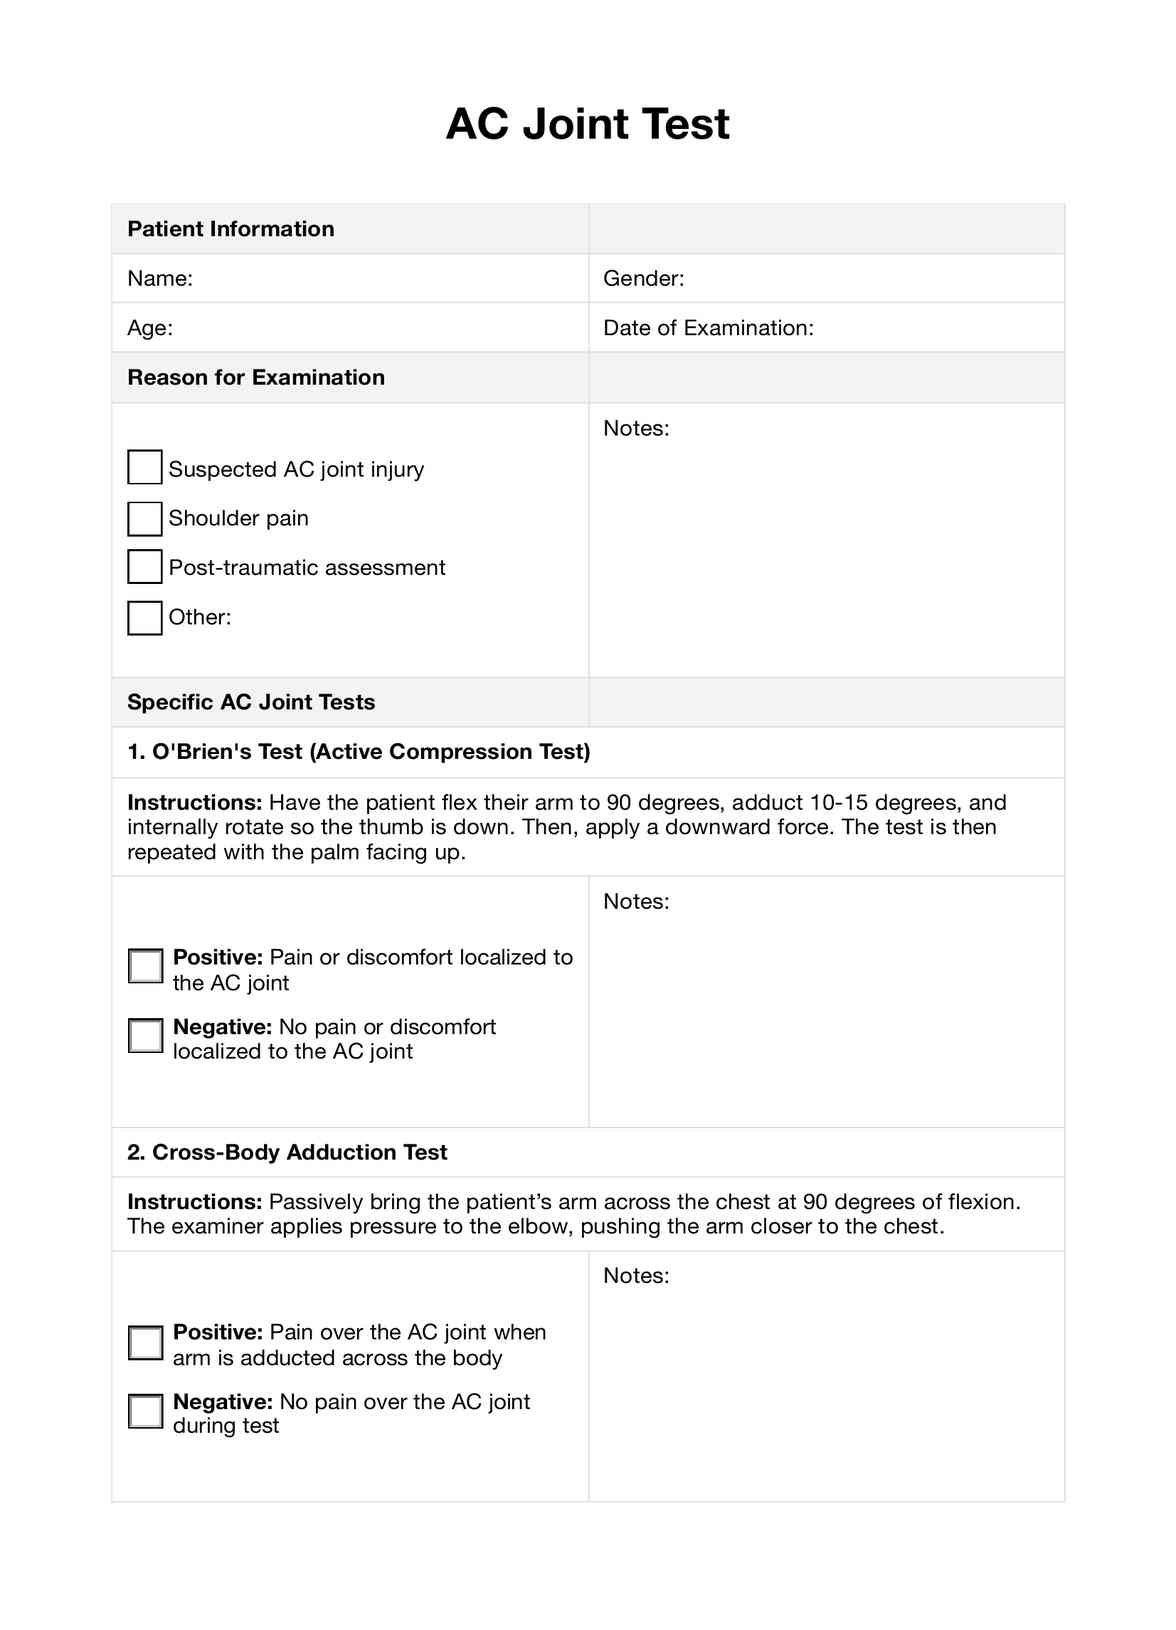
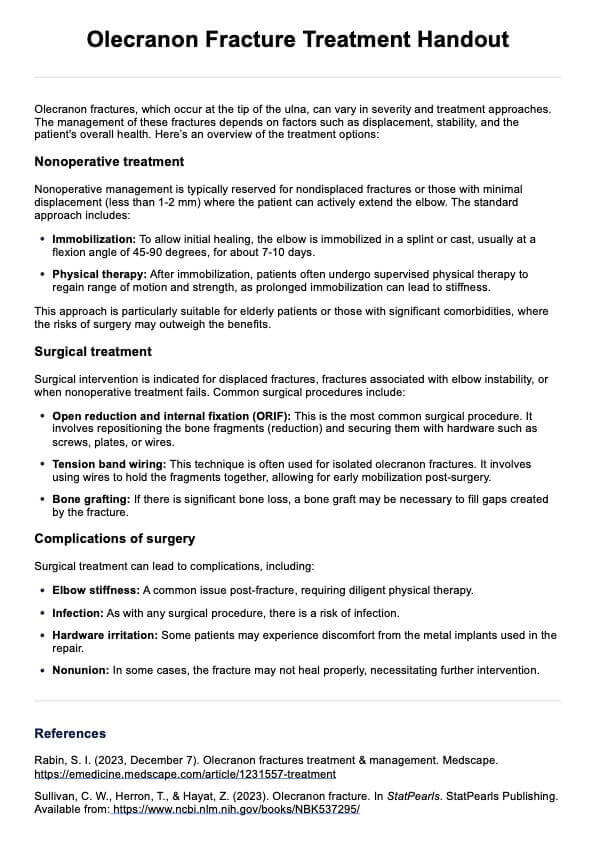
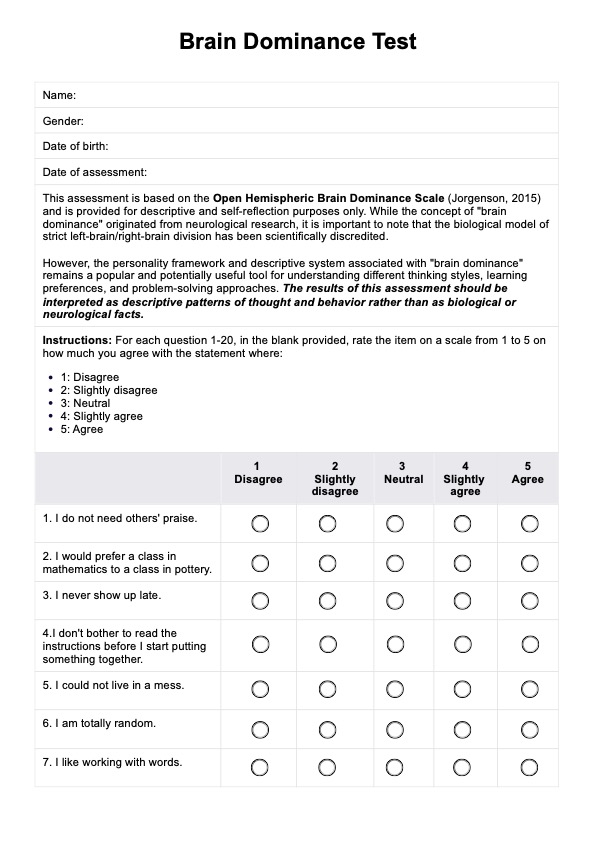
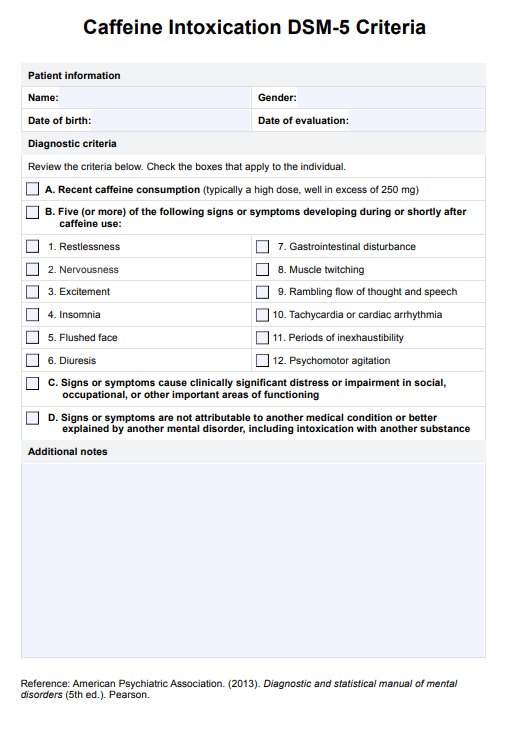
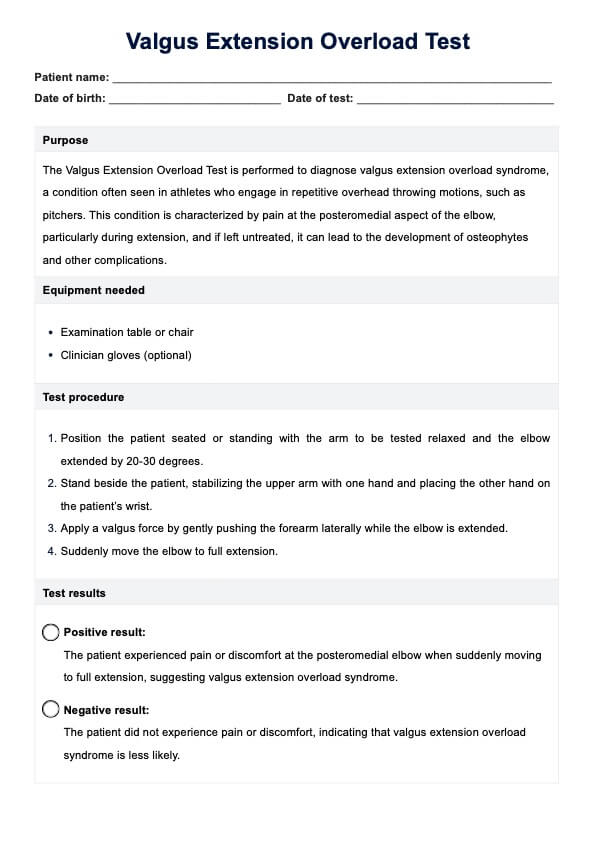
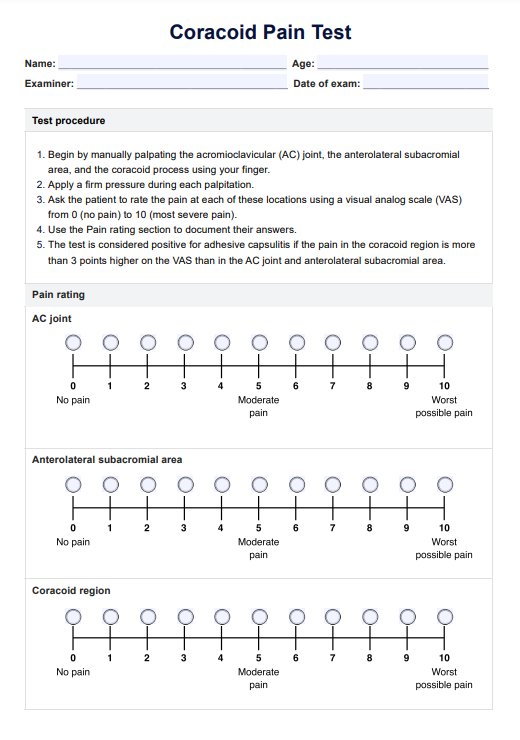
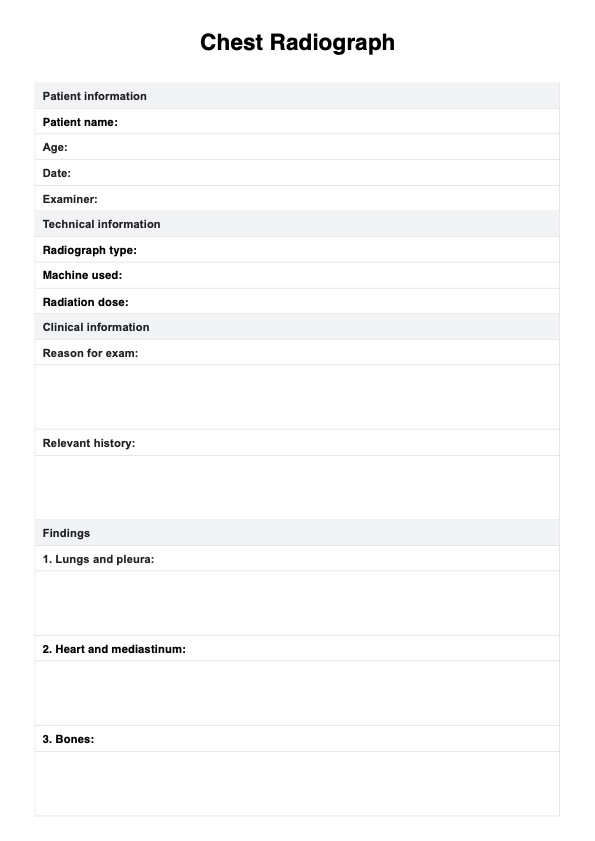
AC Joint Test Template
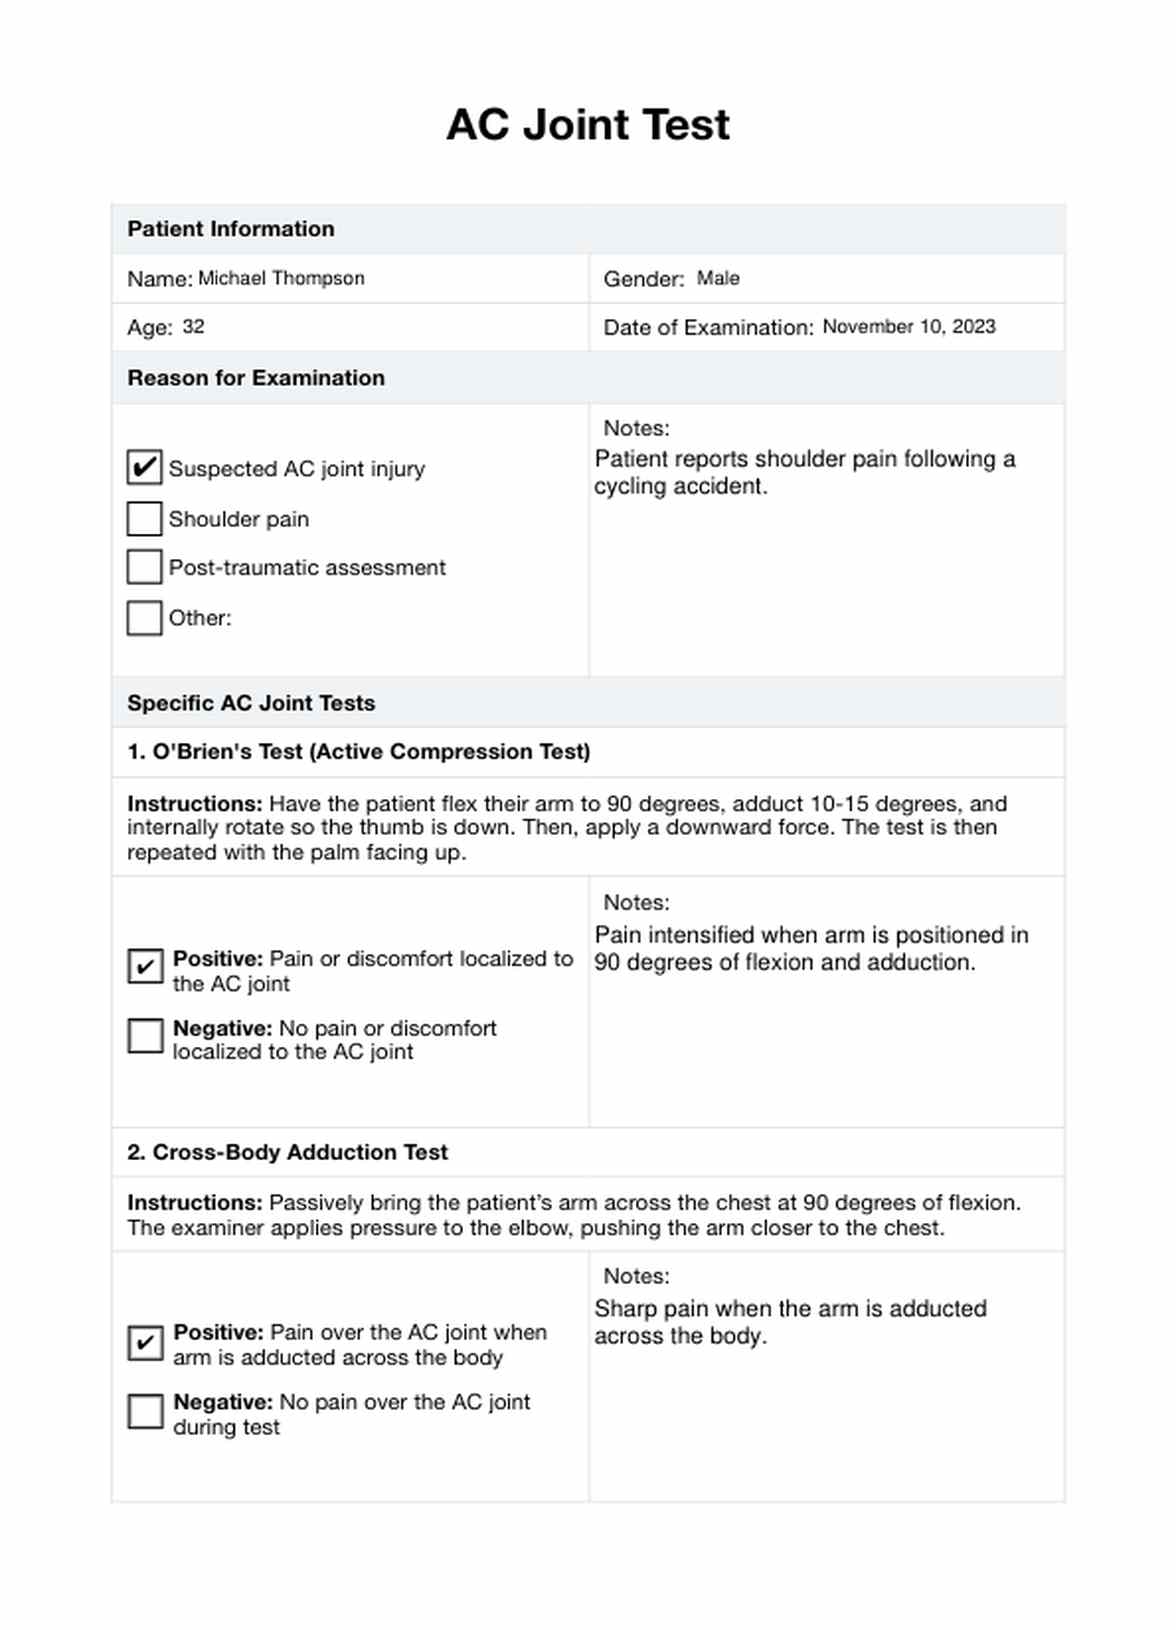
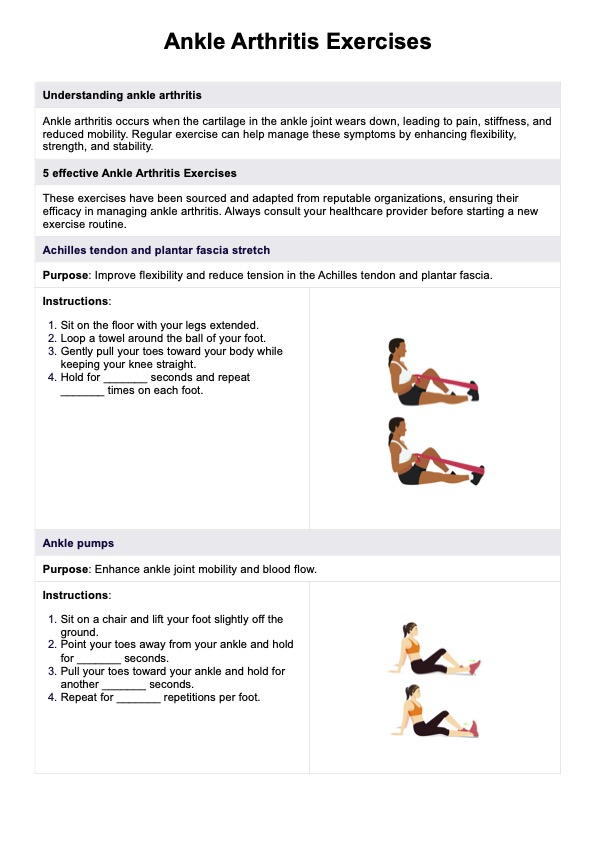
AC Joint Test Example
How to diagnose AC joint injuries
Several physical tests can help diagnose AC joint injuries and guide treatment decisions. These tests assess joint stability, pain, and functional limitations.
Active compression test (O'Brien's test)
This extension test differentiates between AC joint pathology and other shoulder conditions. The patient's arm is positioned at 90° flexion, adducted 10-15°, and internally rotated. The examiner applies a downward force while the patient resists. Pain localized to the AC joint that decreases when the palm is supinated can then suggest AC joint pathology.
Cross-body adduction test
This test assesses AC joint pain and mobility. In horizontal adduction, the examiner passively brings the patient's arm across their body. Here, pain or clicking at the AC joint indicates potential pathology.
How to do the AC Joint Test?
The AC Joint Test is a physical examination technique used to diagnose injuries or disorders of the AC joint, such as AC joint separation or arthritis. Here's how to perform the physical tests:
Step 1: Patient positioning
The patient should be seated or standing, with the examiner positioned in front of them. This setup gives the examiner a good view and access to the shoulder area.
Step 2: Identification of the AC joint
The acromioclavicular joint is located at the top of the shoulder, where the clavicle (collarbone) meets the highest point of the scapula (shoulder blade), known as the acromion. The examiner should locate this joint as the first step before proceeding with the test.
Step 3: Test proper
The AC Joint Test can be administered in two ways to diagnose potential issues in the acromioclavicular joint: a passive test in which the examiner moves the patient's arms (cross-body adduction test) or an active test in which the patient controls their movements (active compression test).
Step 4: Evaluation of results
A positive test is indicated by pain or discomfort in the region of the AC joint. This suggests a potential injury or disorder in the acromioclavicular joint, such as AC joint separation or arthritis. The severity of pain and specific location can help diagnose the condition more accurately.
Results and interpretation
When conducting the AC Joint Test, understanding the outcomes and their significance is crucial for effectively diagnosing and managing shoulder conditions. Here's a brief overview of what positive and negative test results might indicate.
Positive test
Each test in the cluster has different requirements for a positive sign, but the one thing they share in common is experiencing AC joint pain or discomfort. The intensity of the pain and the exact location where it is felt depends on where the test is done.
Negative test
For both tests, experiencing no pain or discomfort results in a negative test. This result suggests that the AC joint is likely not the source of the shoulder pain. However, it does not rule out other shoulder pathologies. Further examination with different tests and imaging studies may be required to accurately diagnose the cause of shoulder pain.
Commonly asked questions
AC joint injuries are typically diagnosed through a thorough physical examination and history. Key signs include localized pain at the AC joint at the top of the shoulder, tenderness over the joint when palpated, pain with cross-body adduction, and visible deformity or step-off if a complete tear is present.
The scarf test, also known as the bear hug test, is used to assess AC joint pain and instability by having the patient place their hand on the opposite shoulder with the elbow pointing up, at which point the examiner applies a downward force on the elbow, with pain localized to the AC joint indicating a positive test and potential AC joint pathology.
The AC joint compression test involves the examiner applying direct pressure over the AC joint while palpating for tenderness or instability. Pain or apprehension during compression signifies a positive test and potential AC joint injury.


