Tarsal Tunnel Syndrome Exercises Handout
Discover effective exercises for managing tarsal tunnel syndrome with our handout. Enhance patient care and improve recovery outcomes.


What is tarsal tunnel syndrome?
Tarsal tunnel syndrome is a condition caused by the compression of the posterior tibial nerve as it passes through the tarsal tunnel, a narrow space inside the ankle. Various factors such as foot anatomy, varicose veins, ankle injury, underlying medical conditions, and excessive stress on the ankles can lead to tarsal tunnel syndrome. This compression can result from factors such as sprained ankles, overuse, arthritis, or diabetes.
Symptoms typically include pain, tingling, or numbness in the foot and ankle, which can worsen with activity. Proper diagnosis and treatment are essential to alleviate pain and prevent further complications.
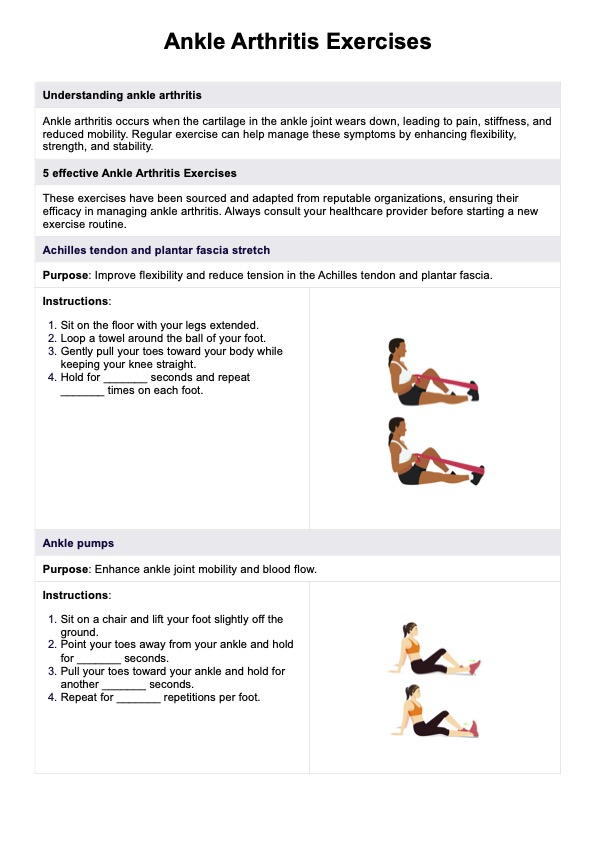
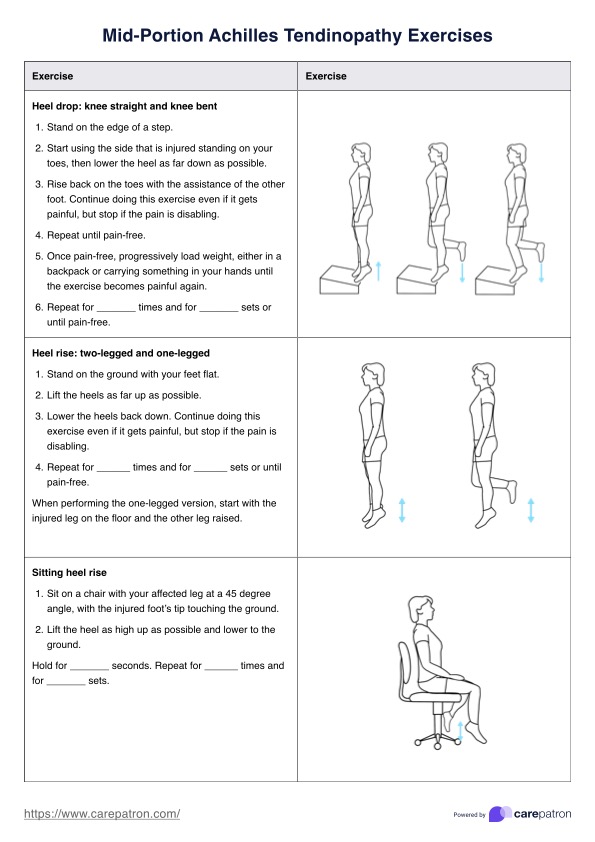
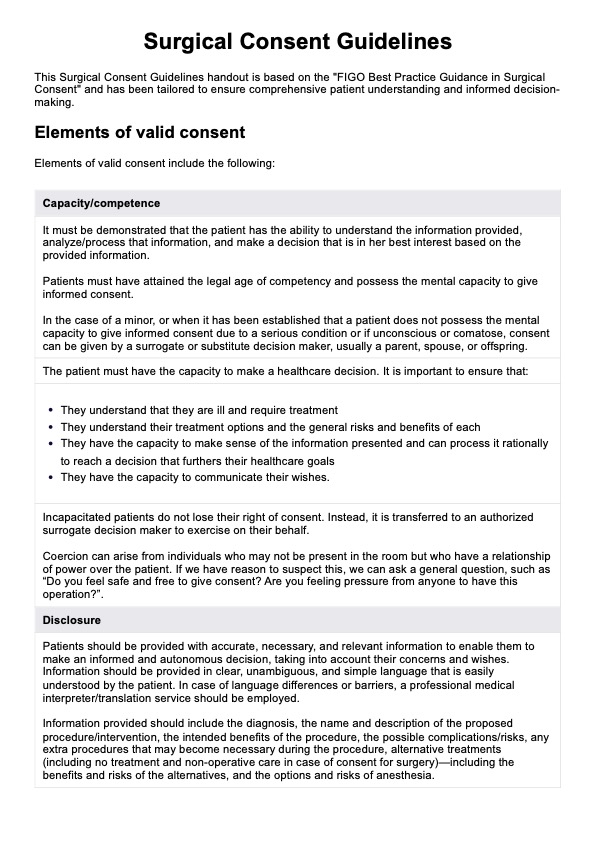
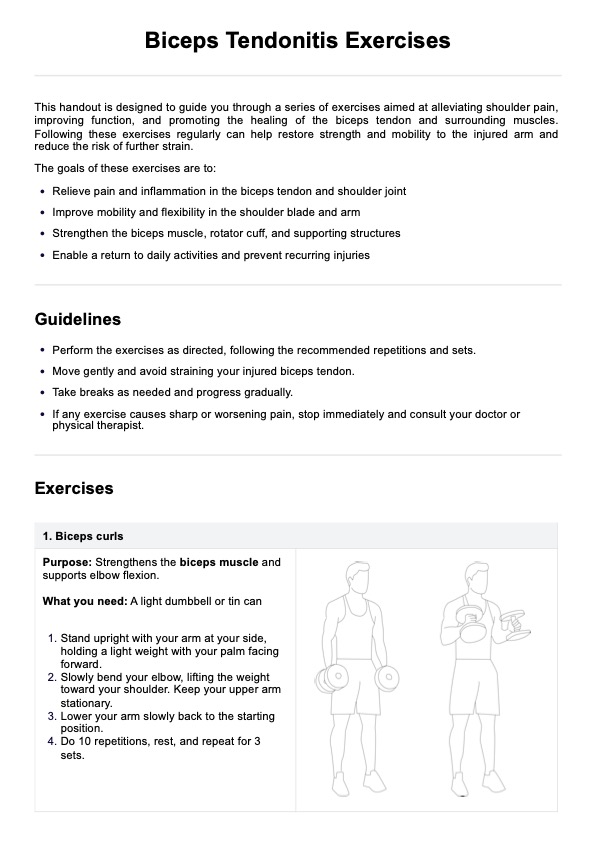
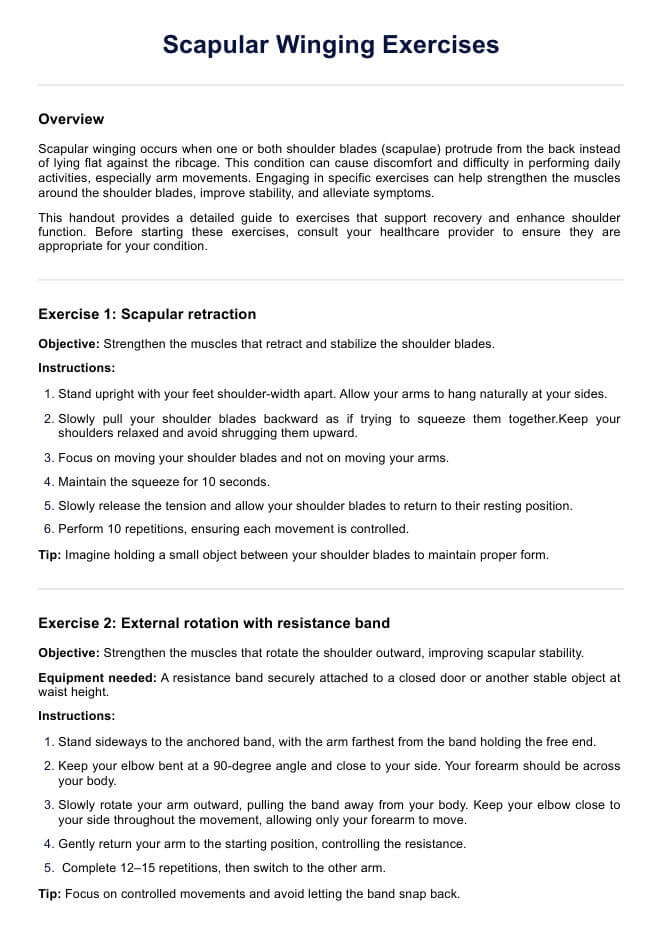
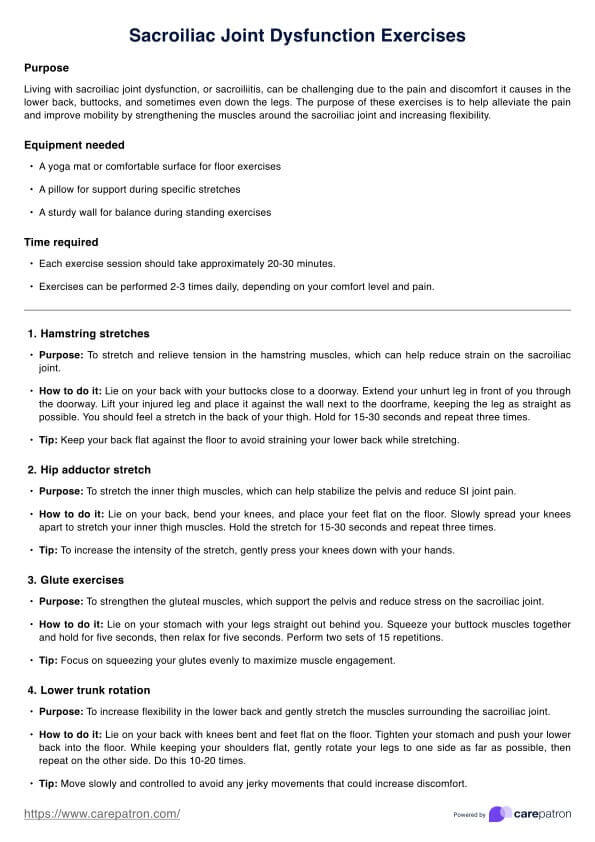
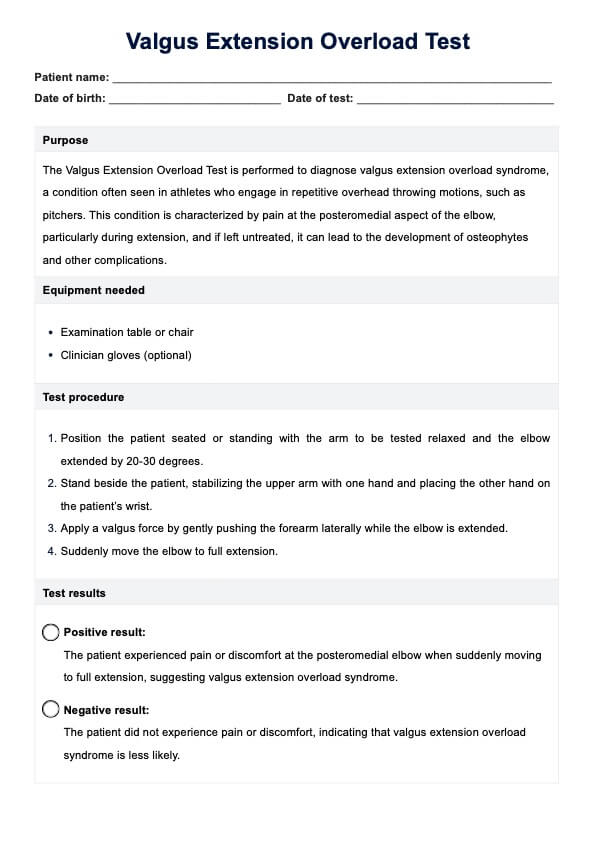
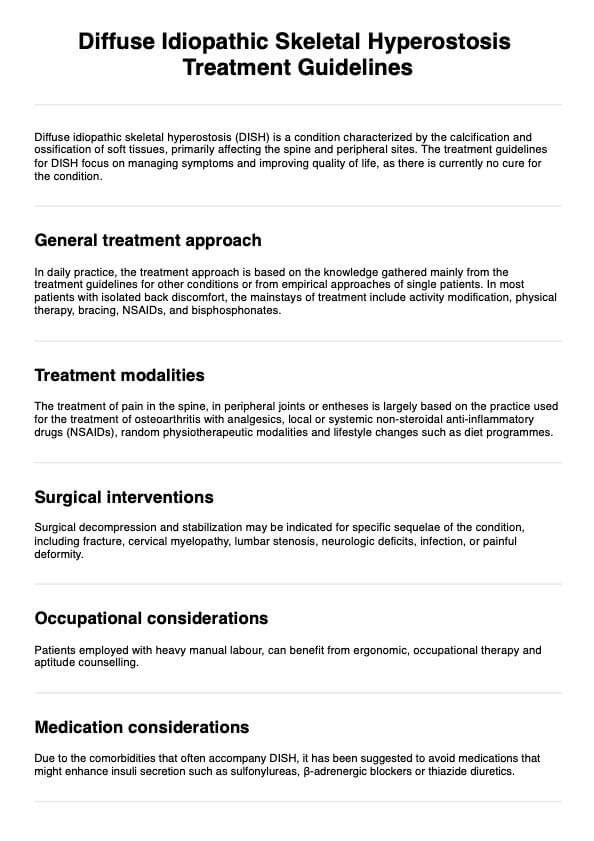
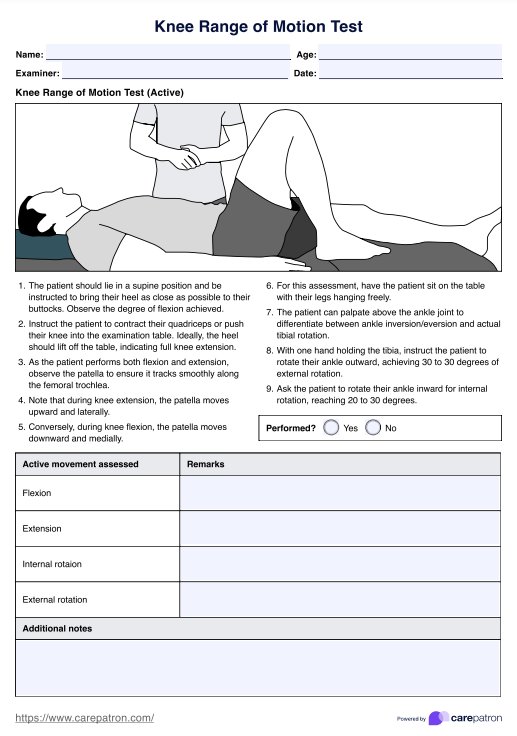
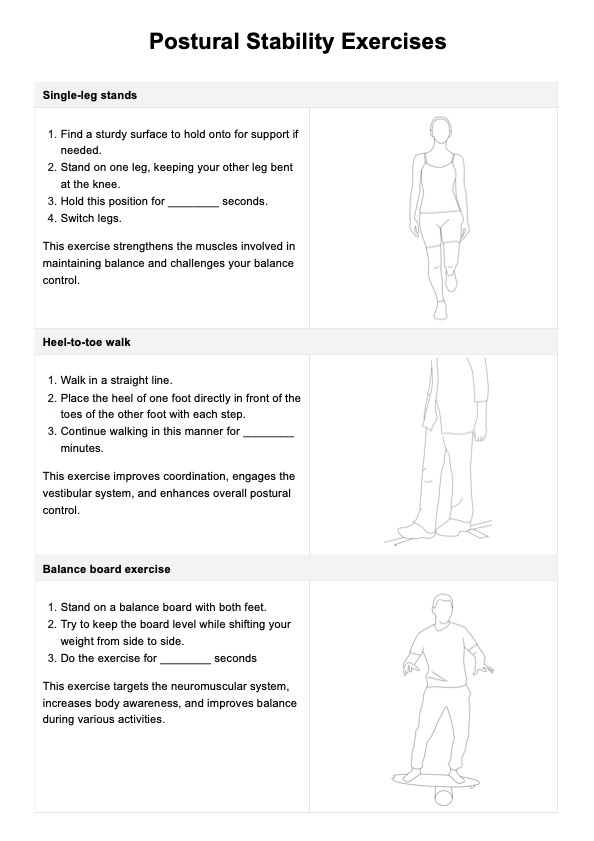
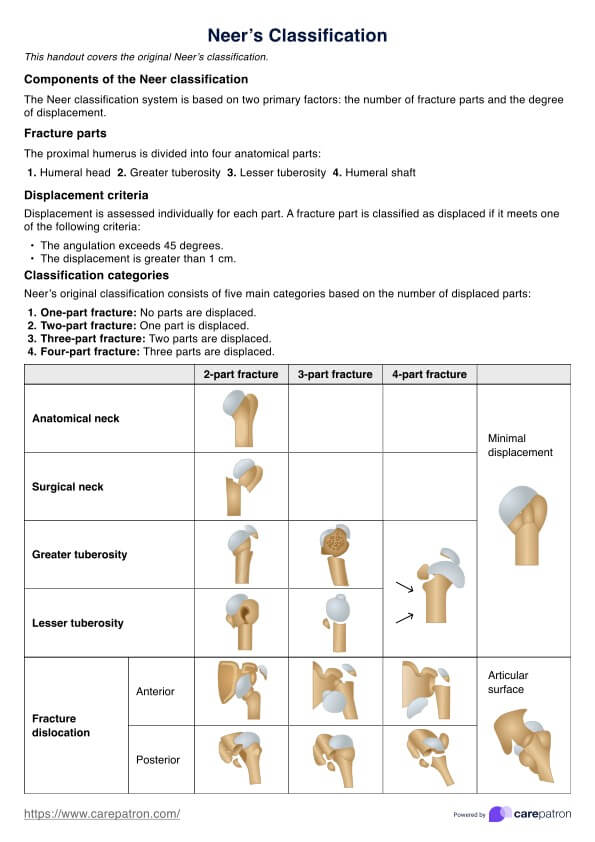
Tarsal Tunnel Syndrome Exercises Handout Template
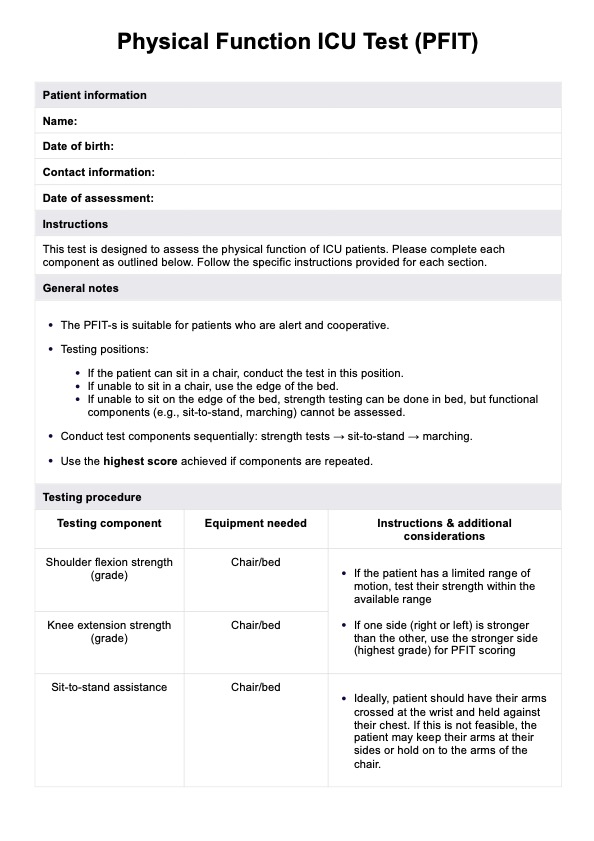
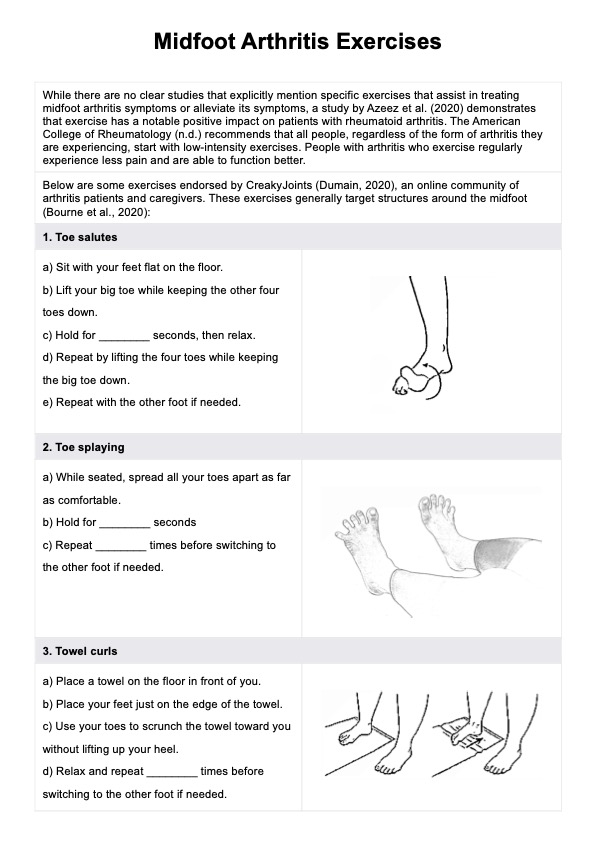
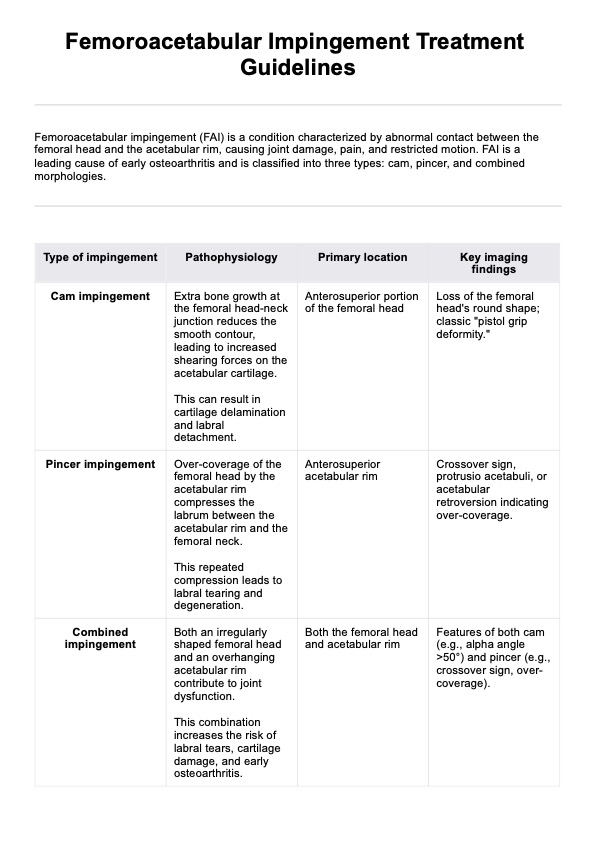
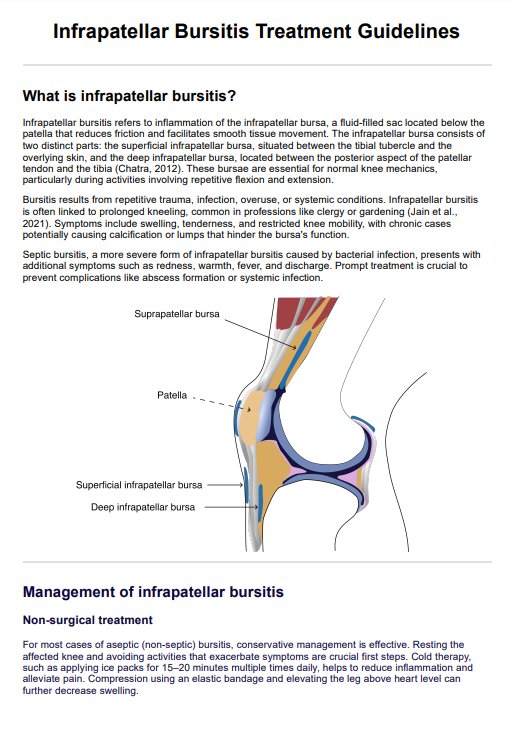
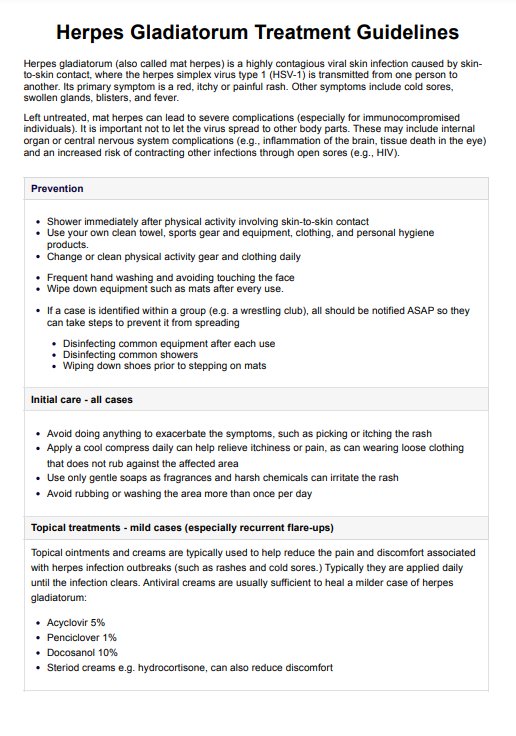
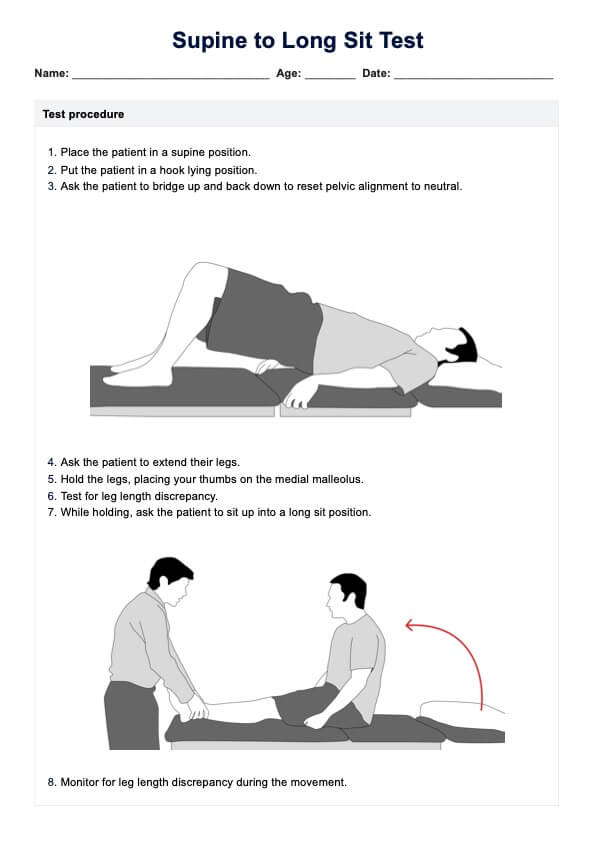
Tarsal Tunnel Syndrome Exercises Handout Example
5 examples of tarsal tunnel syndrome exercises
Engaging in specific exercises can help alleviate the symptoms of tarsal tunnel syndrome by reducing pain and swelling and promoting healing. These exercises can help ease tarsal tunnel syndrome by relieving pressure on the nerve and improving symptoms. Below are five effective exercises for managing this condition.
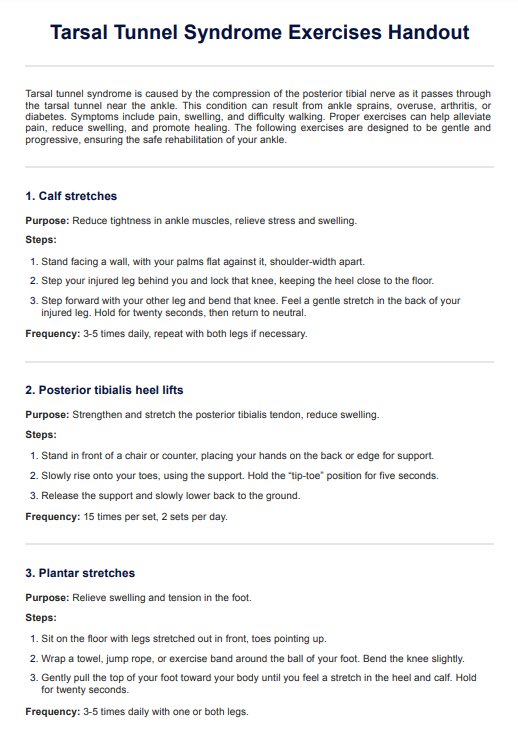
Calf stretches
Calf stretches help reduce muscle tightness around the ankle and specifically target the calf muscles, relieving stress and swelling. Stand facing a wall with your palms flat against it, shoulder-width apart. Step your injured leg behind you, locking that knee and keeping your heel close to the floor. Step forward with your other leg and bend that knee, feeling a gentle stretch in the back leg to target the calf muscles. Hold for twenty seconds, then return to a neutral position. Repeat three to five times daily for each leg if needed.
Posterior tibialis heel lifts
Strengthening and stretching the posterior tibialis tendon can help reduce swelling and discomfort. Stand in front of a chair or counter and place your hands on the back or edge for support. Slowly rise up onto your toes and hold the “tip-toe” position for five seconds. Let go of your support and slowly lower back to the ground. Repeat 15 times per set, performing two sets a day.
Plantar stretches
Plantar stretches relieve swelling and tension in the foot by targeting the nerves and tendons that run through the tarsal tunnel. Sit on the floor with your legs stretched out in front of you, toes pointing up. Wrap a towel, jump rope, or exercise band around the ball of your foot, bending your knee while keeping your toes up. Gently pull the top of your foot toward your body until you feel a stretch in your heel and calf. Hold for twenty seconds. Repeat three to five times daily for each leg if needed.
Ankle rotations
Ankle rotations help maintain flexibility and range of motion in the ankle joint. Sit on a chair and lift your injured leg off the ground. Slowly rotate your ankle clockwise five times. Rotate your ankle counterclockwise five times. Repeat two or three times a day for each ankle.
Pencil lifts
Strengthening the foot and ankle muscles supports the tendons inside the tarsal tunnel, reducing symptoms. While sitting or standing next to a counter, place a pencil on the floor in front of you. Use your toes to pick up the pencil with your injured foot. Hold the pencil in the air for ten seconds, then release it and relax back to neutral. Repeat three to five times daily.
How does our Tarsal Tunnel Syndrome Exercises Handout work?
Our Tarsal Tunnel Syndrome Exercises Handout is designed to provide healthcare professionals with an effective tool for guiding patients through specific exercises to reduce pain and promote healing. The exercises in the handout can help alleviate nerve pain associated with tarsal tunnel syndrome. Follow these steps to use the handout effectively:
Step 1: Download the handout
Ensure you have a readily available copy of the Tarsal Tunnel Syndrome Exercises Handout. You can download it from our website or, if integrated, access it directly from your electronic health record system.
Step 2: Review the exercises
Familiarize yourself with the exercises listed in the handout. Each exercise includes detailed instructions and illustrations to ensure proper execution. Understanding the exercises yourself is crucial before instructing your patients.
Step 3: Assess the patient's condition
Before recommending any exercises, thoroughly assess your patient’s condition. Determine the severity of their tarsal tunnel syndrome, pain levels, and physical capabilities to ensure the exercises are appropriate.
Step 4: Personalize the exercise plan
Based on your assessment, tailor the exercise plan to fit your patient's needs. You may need to adjust the exercises' frequency, intensity, or duration to match their specific condition and progress.
Step 5: Instruct and monitor
Provide clear instructions to your patient on how to perform each exercise correctly. Demonstrate the movements if necessary, and ensure they understand the importance of gentle, controlled motions. Monitor their progress through follow-up appointments and adjust the exercise plan to optimize recovery.
How this handout may benefit physical therapists
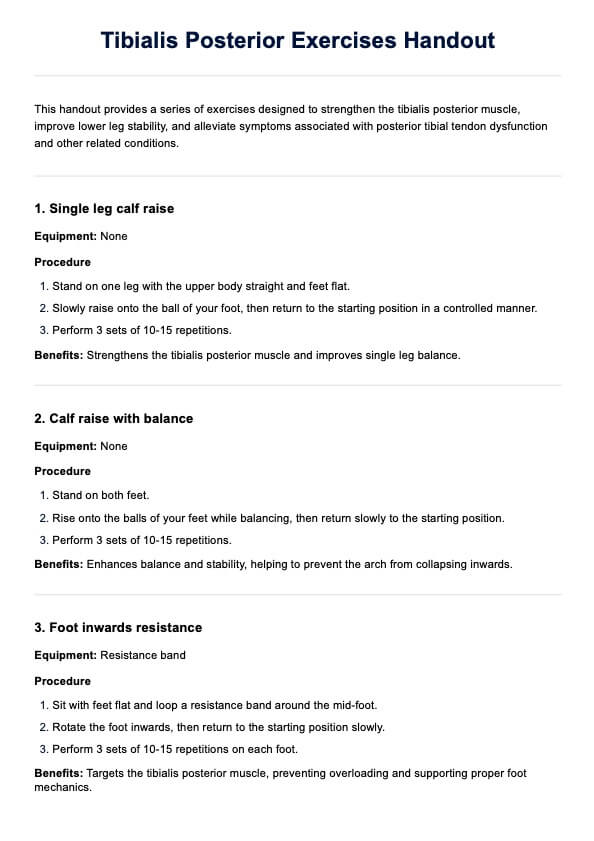
Introducing our Tarsal Tunnel Syndrome Exercises Handout can provide numerous advantages for physical therapists, helping them deliver effective patient care. The handout includes exercises that target the tibialis posterior muscle, which can help alleviate symptoms of tarsal tunnel syndrome.
Improved patient compliance
This handout offers clear, easy-to-follow instructions to help patients understand and adhere to their exercise regimens, leading to better outcomes.
Enhanced treatment plans
By using this structured handout, therapists can ensure they cover all necessary exercises comprehensively, enhancing the overall treatment plan and targeting specific areas affected by tarsal tunnel syndrome.
Time efficiency
The ready-made handout saves time for physical therapists, allowing them to focus more on direct patient care rather than creating individual exercise plans from scratch.
Why use Carepatron as your physical therapy software?
Carepatron offers a comprehensive physical therapy solution for managing PT practices, providing tools to streamline administrative tasks and improve patient care. With features like customizable templates, easy scheduling, and secure patient records, Carepatron enhances efficiency and accuracy in your practice. By integrating Carepatron into your workflow, you can ensure your patients receive the highest quality of care while you benefit from reduced administrative burdens and increased productivity.
Try Carepatron today and experience how you manage your physical therapy practice.

Commonly asked questions
Common symptoms include tingling, numbness, and burning pain in the foot and ankle, which can extend into the toes. Ankle pain is also a common symptom due to nerve compression. Symptoms may worsen with activity and improve with rest.
Diagnosis typically involves a physical examination, patient history, and imaging tests such as ultrasound or MRI to visualize the structures around the tarsal tunnel. Nerve conduction studies may also be used.
Yes, many cases can be managed with conservative treatments like physical therapy, orthotic devices, anti-inflammatory medications, and lifestyle modifications to reduce stress on the affected area. Stretching the soleus muscle can also be part of a conservative treatment to relieve symptoms.


