Parkinson’s Rigidity Test
If your patient is suspected of having Parkinson’s Disease, one of the things you need to do is check for specific rigidity symptoms. Conduct the Parkinson’s Rigidity Test to effectively gauge the rigidity of your patient’s limbs.
What is the Parkinson’s Rigidity Test?
Before we discuss what the Parkinson’s Rigidity Test is all about, let’s briefly discuss what rigidity is in the context of Parkinson’s Disease.
Rigidity is one of the main symptoms of Parkinson’s Disease. Most people who have this disease will develop rigidity at some point as their condition develops and progresses.
When we speak of rigidity in this context, we mean the resistance to passive movement in a patient’s joints. Rigidity can also refer to joints and limbs becoming stiff or tight, resulting in a decreased range of motion. An example would be the arm swinging less while walking. Even trunk movements can be impacted by this.
The rigidity can also cause aches in the arms and legs, especially in the muscles. This may affect sleep and make the patient feel uncharacteristically tired.
There are two types of rigidity: Lead Pipe Rigidity and Cogwheel Rigidity. The former is characterized by a constant resistance throughout an entire range of motion, while the latter is characterized by a resistance that starts and stops every now and then while a limb or joint is being moved throughout its range of motion.
To gauge a patient’s rigidity, a healthcare professional will conduct the Parkinson’s Rigidity Test, which is an examination that involves the passive manipulation of a patient’s limbs and joints.
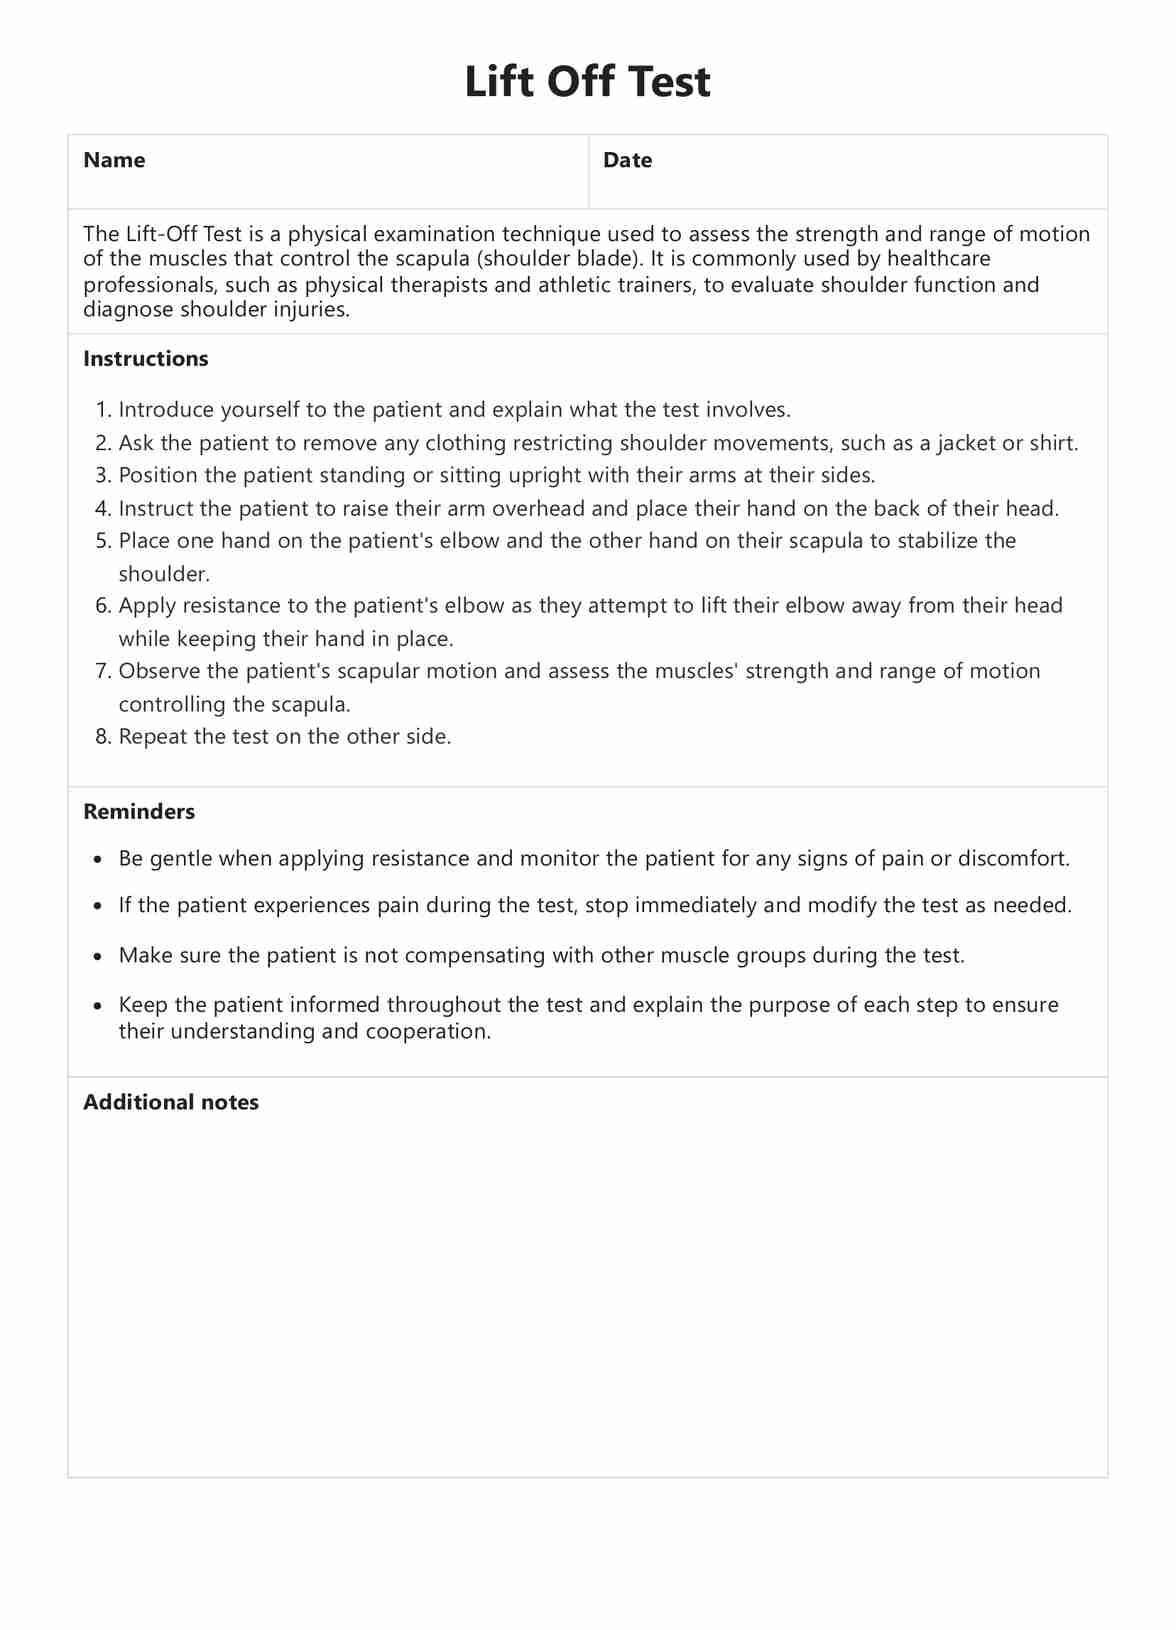
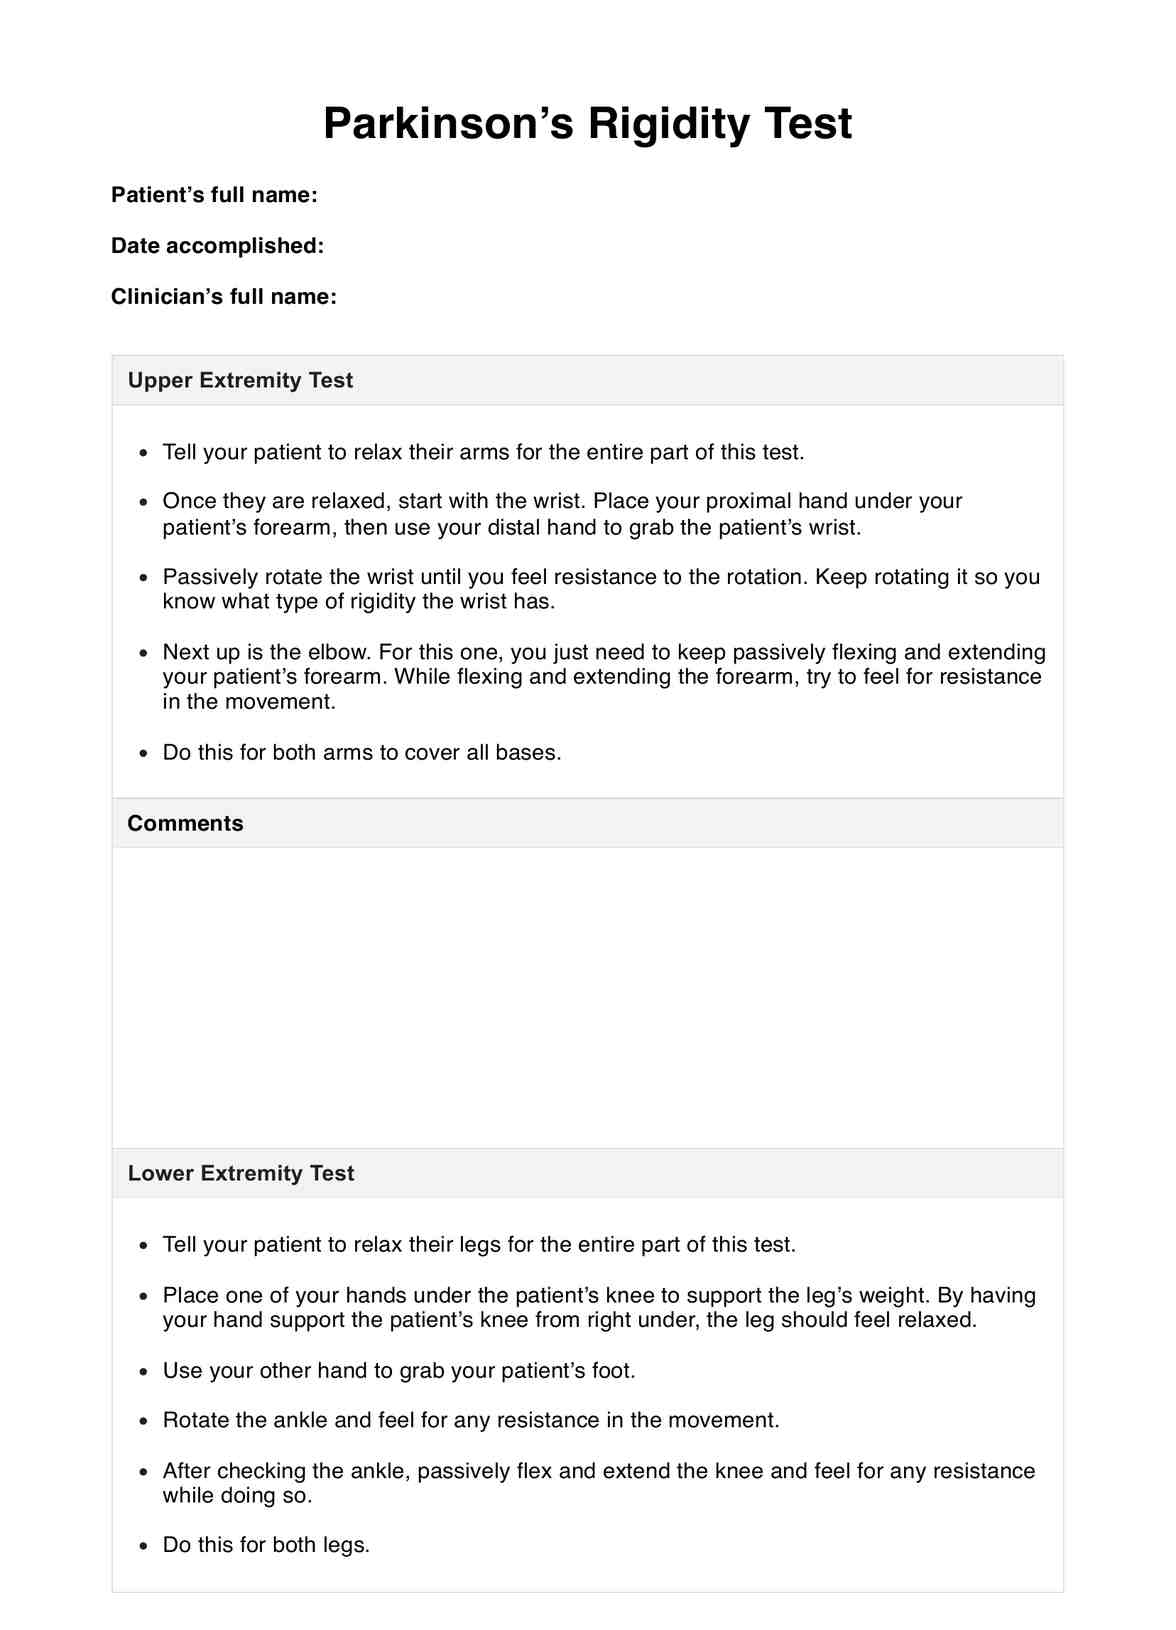
Parkinson’s Rigidity Test Template
Parkinson’s Rigidity Test Example
How to conduct the Parkinson’s Rigidity Test
Before you conduct the Parkinson’s Rigidity Test, you must prepare two comfortable chairs. Make sure these chairs have backrests so your patient can relax (and so they don’t fall backward by accident). The patient will be seated throughout this entire test, and you will be seated beside or in front of them because you will be applying passive movement to their limbs. Once you’re both seated, you can begin the test:
- Upper Extremity Rigidity Test
- Tell your patient to relax their arms for the entire part of this test.
- Once they are relaxed, start with the wrist. Place your proximal hand under your patient’s forearm, then use your distal hand to grab the patient’s wrist.
- Passively rotate the wrist until you feel resistance to the rotation. Keep rotating it so you know what type of rigidity the wrist has.
- Next up is the elbow. For this one, you just need to keep passively flexing and extending your patient’s forearm. While flexing and extending the forearm, try to feel for resistance in the movement.
- Do this for both arms to cover all bases.
- Note down your findings.
- Lower Extremity Rigidity Test
- Tell your patient to relax their legs for the entire part of this test.
- Place one of your hands under the patient’s knee to support the leg’s weight. By having your hand support the patient’s knee from right under, the leg should feel relaxed.
- Use your other hand to grab your patient’s foot.
- Rotate the ankle and feel for any resistance in the movement.
- After checking the ankle, passively flex and extend the knee and feel for any resistance while doing so.
- Do this for both legs.
- Note down your findings.
If you’re having trouble getting the limbs to exhibit resistance, you can have your patient tap their hand on their knee repeatedly. The hand and knee should be on the opposite side of the one you’re currently testing. This method is a way to activate any resistance brought about by rigidity.
Once you’re done noting down findings, the next step is to conduct other Parkinson’s Disease-related assessments, specifically ones that check Bradykinesia, tremors, gait, and balance. It’s best to do this to get a full picture of the patient before conducting or escalating them to another professional for scans.
You can also use the Balance Test Template to evaluate a patient's stability and coordination, providing essential insights into their overall balance. Incorporating the Bradykinesia Test Template helps assess the speed of movement, which is crucial for diagnosing motor control issues. The Parkinson’s Tremor Test Template is valuable for detecting tremors associated with Parkinson’s disease, while the Parkinson’s Hand Test Template assists in evaluating hand function and motor skills affected by the condition.
Additionally, the Tinetti Balance Test Template is useful for a comprehensive assessment of balance and gait, particularly in elderly patients. Combining these tools can provide a well-rounded evaluation of motor and balance issues, aiding in accurate diagnosis and effective treatment planning.
When is the best time to conduct the Parkinson’s Rigidity Test?
Before you test a patient for Parkinson’s Disease, you must determine if the patient is eligible to undergo Parkinson’s Disease-related tests. For them to be eligible, they need to have the following symptoms:
- Bradykinesia, which is the slowness of movement
- If they are struggling to maintain their balance and are prone to falling
- If there are tremors in their limbs, even while at rest
- And if their arms, legs, and/or trunk are showing signs of rigidity, which is what this test is for
If your patient seems to have these symptoms while with you, that’s the best time to whip out a copy of our Parkinson’s Rigidity Test template and start conducting it.
Do note that this test should be part of a comprehensive examination. The reason for this is that this test alone is not enough to confirm that your patient has Parkinson’s Disease. Any person can have sluggish movements or have a hard time moving their limbs, especially the elderly.
That’s why it’s recommended that you conduct the Bradykinesia Test, Parkinson’s Tremor Test, and even a gait and balance test to check for signs of Parkinson’s Disease before you endorse them for scans and neurological tests.
Comprehensive examinations are critical, given there is a chance you might misdiagnose a patient with Parkinson’s Disease. Based on the findings of N.P.S. Bajaj et al. (Accuracy of clinical diagnosis in tremulous parkinsonian patients: a blinded video study. J Neurol Neurosurg Psychiatry, 81(11):1223–1228, Nov 2010) and C.B. Levine et al. (Diagnosis and treatment of Parkinson’s disease: a systematic review of the literature. Evid Rep Technol Assess (Summ), (57):1–4, May 2003), the rate of misdiagnosing a patient for Parkinson’s Disease, even among experienced neurologists, is twenty-five percent. That’s why it’s best to cover as much ground as possible before making an official diagnosis.
What are the benefits of the Parkinson’s Rigidity Test?
Both segments of the test are easy to perform!
The Parkinson’s Rigidity Test is one of the easiest tests to perform when checking for symptoms and the likelihood of Parkinson’s Disease in a patient. This specific test doesn’t require anything except for two chairs and the healthcare professional’s hands.
All the healthcare professional needs to do is rotate, flex, and extend limbs while trying to feel for any resistance while they passively move them. If rotating, flexing, and extending the limbs won’t activate resistance, the activation method we mentioned earlier should be able to do the trick. That’s it!
It’s a great way to screen patients for the possibility of Parkinson’s Disease.
Before conducting scans and neurological tests to confirm Parkinson’s Disease, it’s always best to check if the patient is exhibiting symptoms of the disease, not just by looking at them but also by conducting specific tests like the Parkinson’s Rigidity Test. This should be one of the first tests conducted because there is a chance that a misdiagnosis can be made, as we mentioned earlier.
The Parkinson’s Rigidity Test, the Bradykinesia Test, and the Parkinson’s Tremor Test will gauge the patients for symptoms of Parkinson’s Disease. If they have these symptoms based on the findings, then they are eligible to take scans and neurological tests. The results should serve as a good grounding to determine the likeliness of patients having the disease.
The Parkinson’s Rigidity Test can be used as a monitoring test later on.
Sadly, Parkinson’s Disease is an affliction with no cure, but it can become manageable! Treatments can involve medicine, physical therapy, and even surgery (though this should be the last option).
Let’s stipulate that you have already developed and implemented a treatment plan for your patient. This treatment plan involves medication and physical therapy. Naturally, you’d want to know how the patient is doing and if the plan is working, so from time to time, you should conduct a routine check-up.
Let’s also stipulate that the patient had noticeable rigidity when you first assessed them. During a routine check-up, you can re-conduct the Parkinson’s Rigidity Test to gauge their rigidity. If there is no longer any resistance when you rotate, flex, and extend their limbs, then it’s safe to say your plan is working. All the more if resistance only pops up when you resort to the activation method. If the resistance is still there when rotating, flexing, and extending, or if the resistance is worse than before, you might want to tweak your plan and see if the changes lead to improvement.
Commonly asked questions
No. The Parkinson’s Rigidity Test only checks if the patient has rigidity in their upper and lower extremities, which is a symptom of Parkinson’s Disease. It’s not enough to give you the full picture of the patient.
You should conduct tests that check for Bradykinesia, tremors, gait, and balance. It’s best to do these before conducting scans and neurological tests.
There are different ways to look at this. 1) They are not symptomatic of Parkinson’s Disease; 2) You’re conducting this for a routine check-up and their medicine is working; 3) The rigidity might be there, but rotation, flexing, and extending the limb won’t do the trick, so, the activation method we mentioned earlier might do the trick.