Ankle Dorsiflexion Test
Learn about ankle dorsiflexion testing with our guide and free template. Discover techniques, benefits, and treatment options for improved ankle mobility.


Why is ankle dorsiflexion important?
Ankle dorsiflexion refers to the action of decreasing the angle between the foot and the shin, essentially when you pull your toes closer to your shin. It's a crucial movement in many daily activities such as walking, running, lifting, and squatting. Adequate ankle dorsiflexion range ensures efficient biomechanical movements and helps maintain balance and gait stability.
What can negatively impact ankle dorsiflexion?
Several factors can impair ankle dorsiflexion including tightness in the calf muscles (gastrocnemius and soleus), previous ankle injury (like ankle sprains) that lead to scar tissue formation, or structural abnormalities such as bone spurs on the front of the ankle joint.
What problems can impaired ankle dorsiflexion lead to?
Limited ankle dorsiflexion can lead to a range of issues affecting overall mobility. It can alter normal gait patterns, increase the risk of falls and ankle sprain, and contribute to lower limb disorders that affect the Achilles tendon, shin, and knee.
Even the upper body can be affected, since ankle dorsiflexion is done in movements like lifting and grasping; it can affect the overall movement patterns and potentially contribute to wrist pain. Over time, a restricted ankle range of motion can also lead to compensatory movements, placing undue stress on other joints.
Ankle Dorsiflexion Test Template
Ankle Dorsiflexion Test Example
What is an Ankle Dorsiflexion Test?
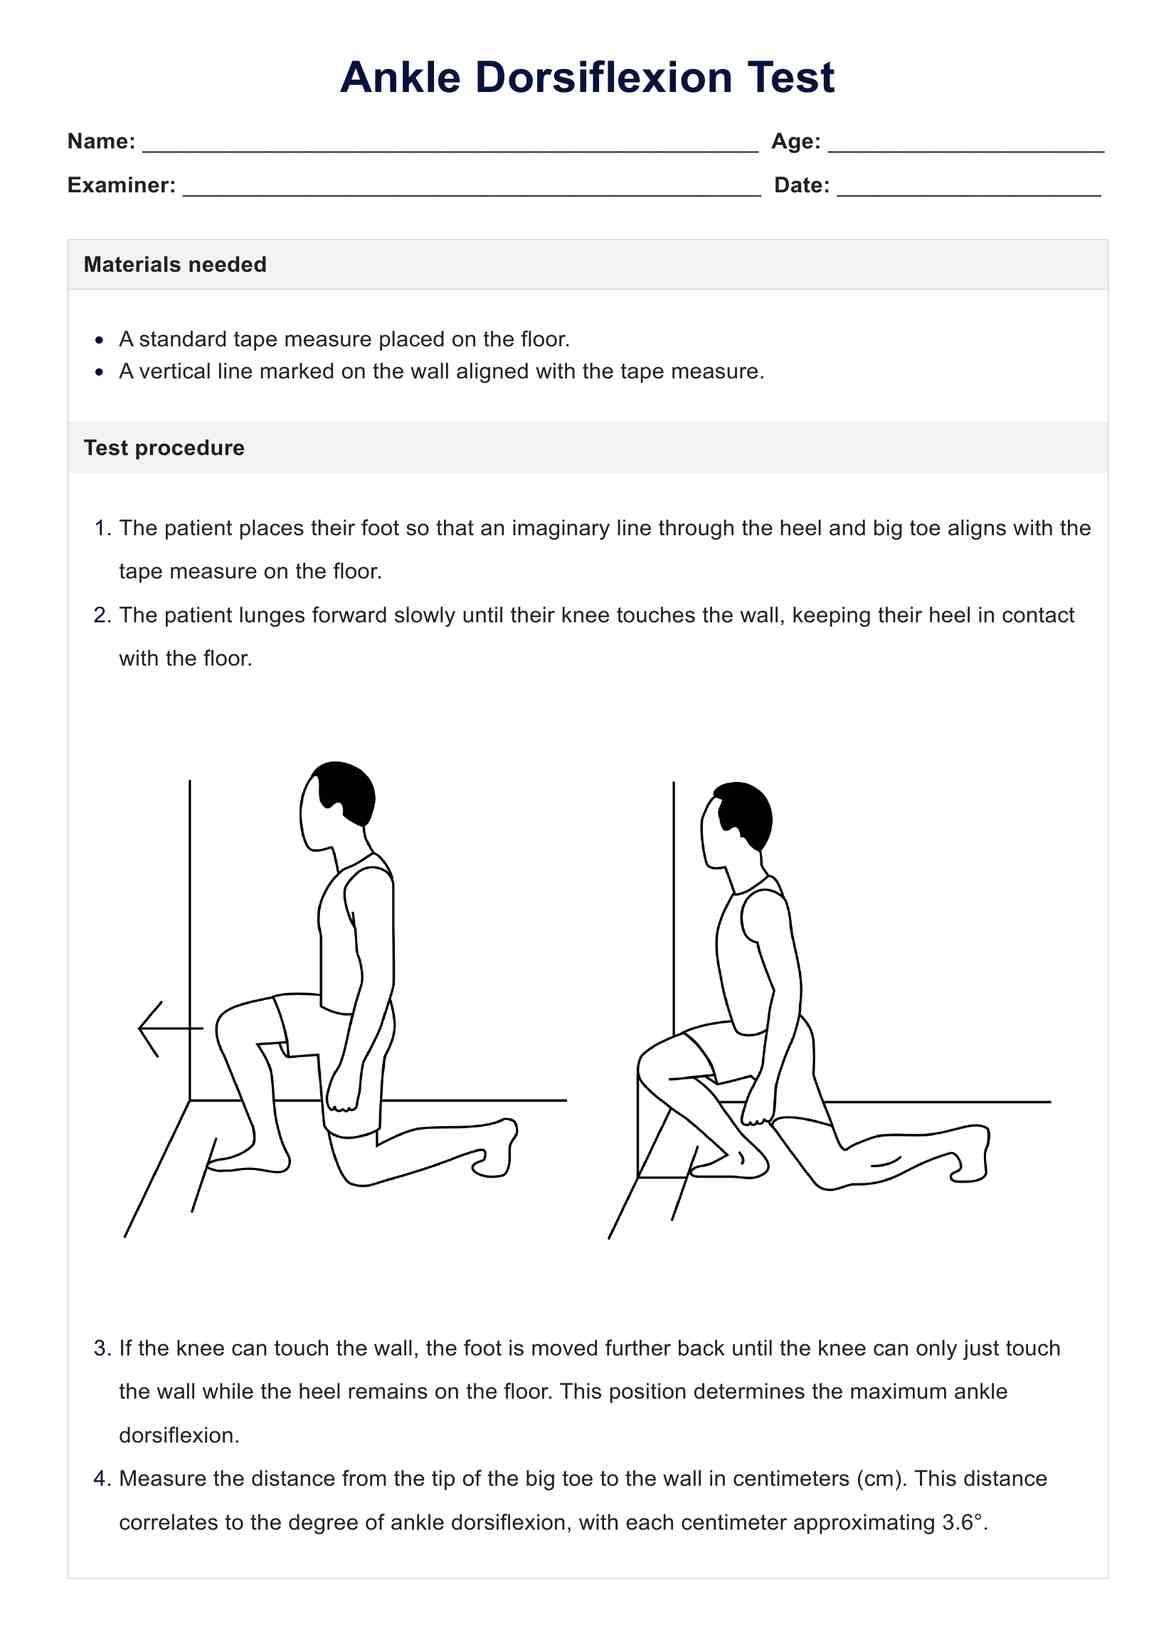
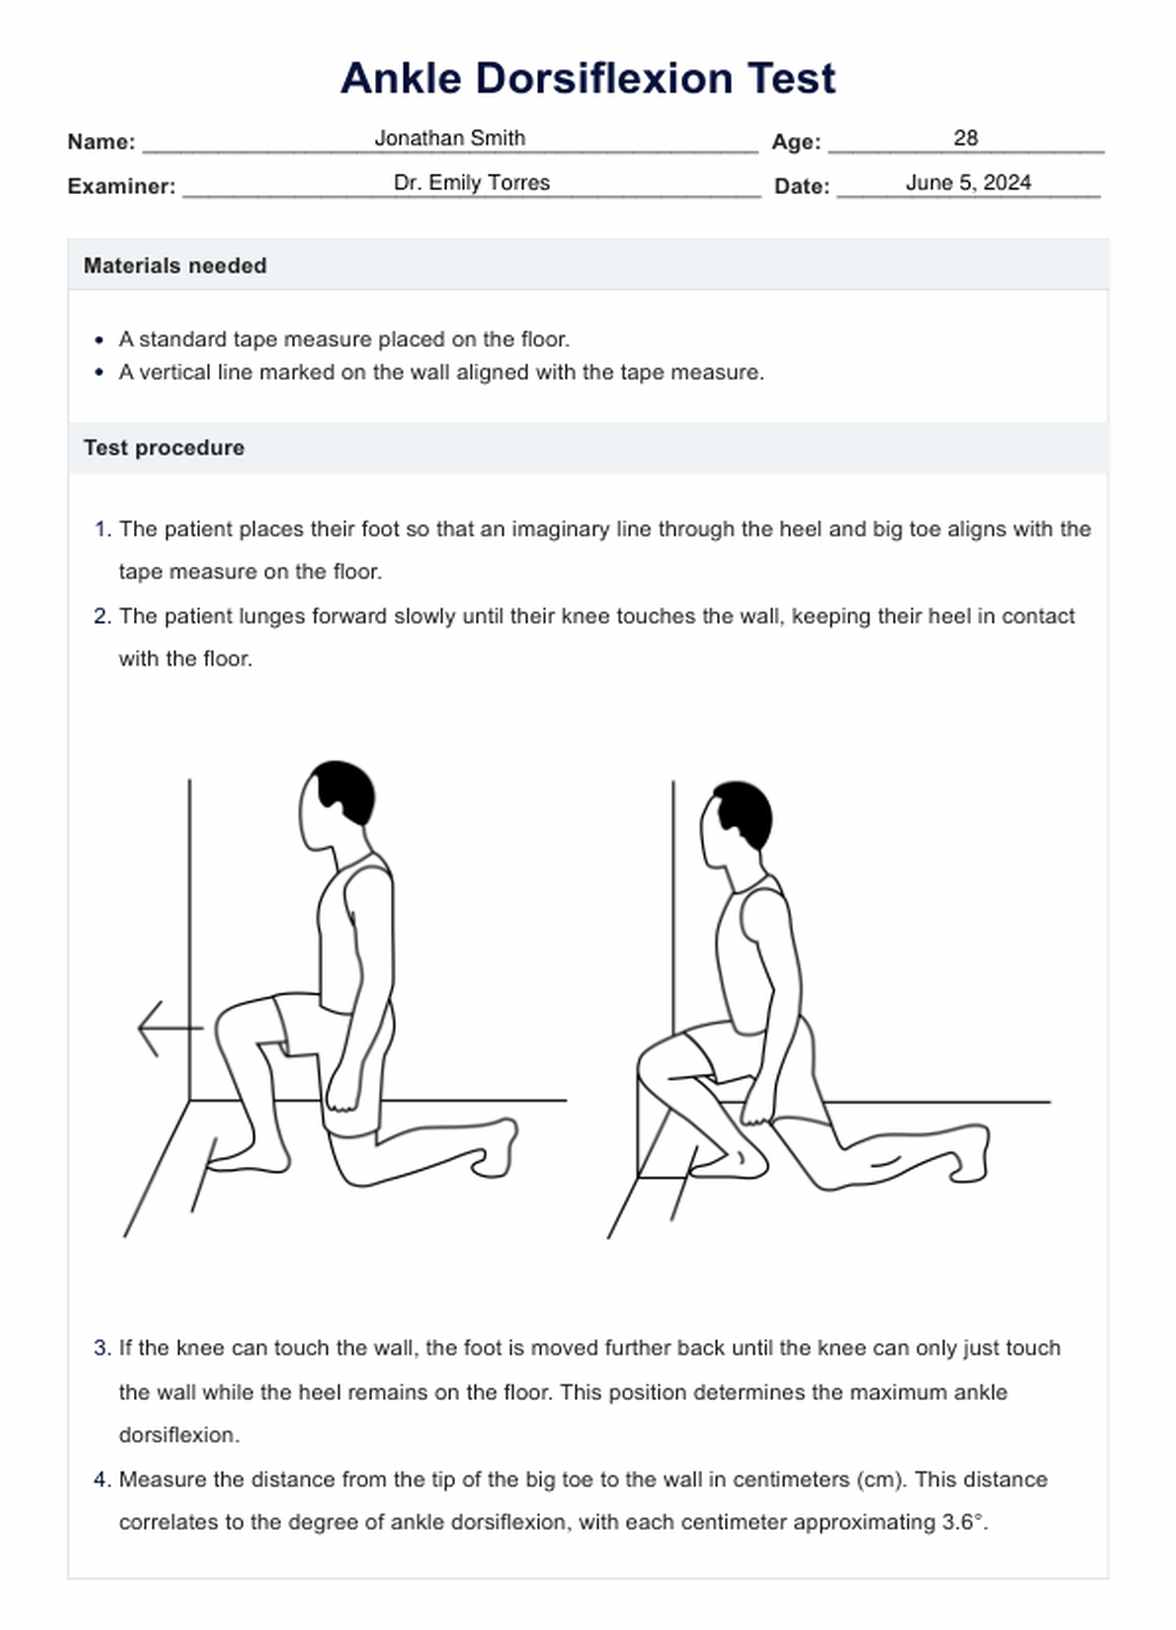
The Ankle Dorsiflexion Test, also known as the Knee to Wall Test or Weight Bearing Lunge Test, is a clinical assessment used to measure the dorsiflexion range of motion and flexibility of the ankle joint. The purpose of this test is to identify limitations in ankle movement that might affect gait and overall lower limb function. It is particularly useful for diagnosing conditions that impair dorsiflexion, such as tight calf muscles or ankle joint pathologies.
How is this test conducted?
The test is performed by doing the following:
- Using a tape measure, set a distance on the floor for the place their foot on.
- The patient lunges forward to place their foot on the set spot.
- The patient leans their knee forward further to try to touch the wall without lifting the heel.
- Repeat steps 2 and 3, each time increasing the distance from the wall until the knee can no longer touch without the heel rising.
The maximum distance at which the knee can touch the wall while keeping the heel down indicates the ankle's dorsiflexion capability. Each centimeter is approximately equal to 3.6 degrees of ankle dorsiflexion.
How are the results interpreted?
The results of the Ankle Dorsiflexion Test are quantified by measuring the distance from the toe to the wall when the knee can just touch the wall without lifting the heel. This distance is typically recorded in centimeters and provides a direct indication of the degree of ankle dorsiflexion. A shorter distance suggests restricted dorsiflexion, which may require further evaluation or intervention.
Next steps after conducting this test
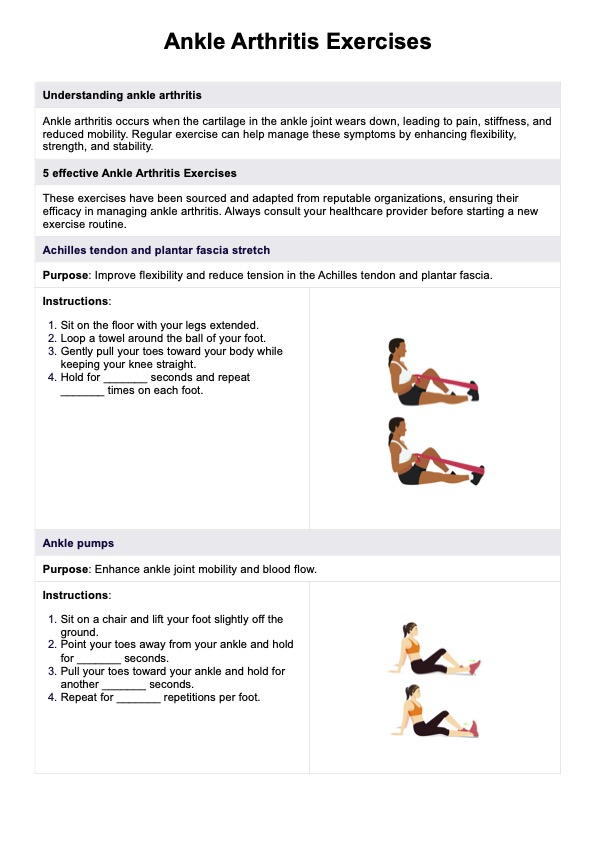
Following the test, if restricted dorsiflexion range of motion is identified, further diagnostic tests (such as imaging) may be recommended to ascertain the underlying cause. Then, create a targeted treatment plan including stretching, strengthening exercises, ankle mobility exercises, or physical therapy to improve ankle dorsiflexion and alleviate any associated symptoms.
How to use our Ankle Dorsiflexion Test template
Using the Ankle Dorsiflexion Test template simplifies the process of administering and recording the test, ensuring consistency and accuracy in the evaluation of ankle dorsiflexion. The template includes all necessary sections for a comprehensive assessment, facilitating a standardized approach to testing:
- Access this template: Start by accessing the template provided. It can be downloaded via our website or the Carepatron app. Ensure the template is available on your device or printed out before the patient arrives for testing.
- Explain the template: Before conducting the test, explain the procedure outlined in the template to the patient. This ensures they understand what to expect and how to properly perform the test.
- Conduct the test: Follow the detailed steps provided in the template to conduct the test. This includes setting up the tape measure, positioning the patient's foot, and instructing them to lunge forward until their knee touches the wall. Ensure the heel remains in contact with the ground throughout the test to maintain result validity.
- Record the findings: Note the maximum distance the patient can achieve with proper form and indicate whether the dorsiflexion is adequate or restricted according to clinical standards. Additional observations or patient comments can also be added to provide a comprehensive view of the patient's condition.
Benefits of conducting this test
Conducting the test offers several significant benefits for both healthcare providers and patients, making it an essential component of physical examinations when assessing lower limb functionality. Here are some key advantages:
- Early detection and prevention of mobility issues: This test helps identify restrictions in ankle dorsiflexion mobility early on, which can be critical for diagnosing potential complications early and starting appropriate interventions sooner.
- Improved treatment outcomes: By accurately assessing the range of ankle dorsiflexion, healthcare providers can tailor rehabilitation programs that specifically target the patient’s limitations, thereby improving the effectiveness of treatment plans.
- Objective measurement for progress monitoring: The test offers a quantifiable metric that can be tracked over time. This is particularly useful for evaluating the effectiveness of treatment interventions and adjusting them as needed based on objective data.
How physical therapists rehabilitate ankle dorsiflexion
Physical therapists play a crucial role in rehabilitating ankle dorsiflexion to ensure patients regain optimal function and mobility. Effective rehabilitation not only addresses the immediate limitations but also prevents long-term complications associated with reduced dorsiflexion. Here are some of the core strategies used in rehabilitation:
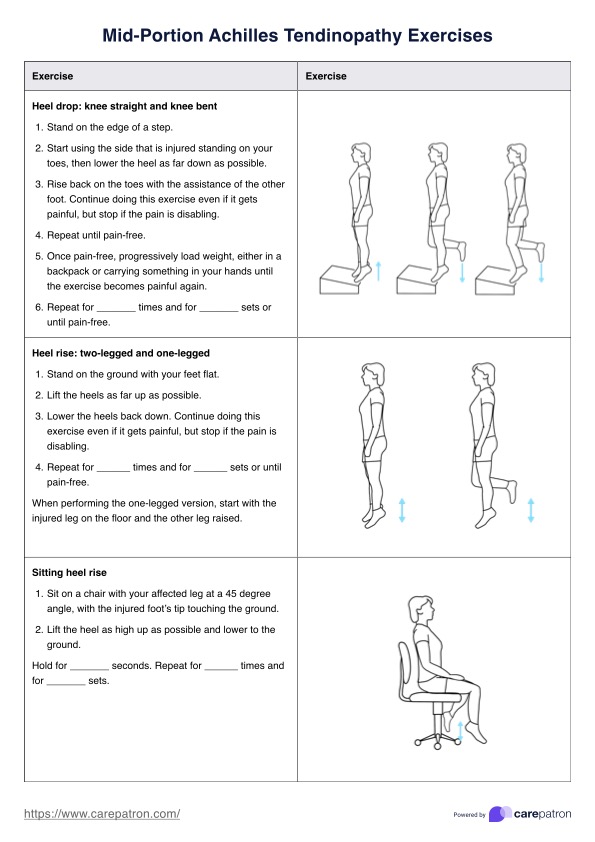
- Stretching exercises: Key to improving ankle dorsiflexion are stretching exercises that target the calf muscles, such as the gastrocnemius and soleus. Techniques include static stretching, band-assisted stretches, and wall stretches, which help lengthen the muscle fibers and increase flexibility.
- Strengthening workouts: Strengthening the muscles that support dorsiflexion, particularly the tibialis anterior and other dorsiflexors of the foot, enhances ankle stability and mobility. Resistance training using bands or weights can be particularly effective.
- Proprioceptive training: Balance and proprioceptive exercises are crucial for restoring the ankle’s functional stability. Exercises like single-leg stands, wobble board work, and agility drills help reinforce the body's response to changes in terrain and movement, reducing the risk of re-injury.
Commonly asked questions
The Ankle Dorsiflexion Test, or the Knee to Wall Test, involves the patient trying to touch their knee to the wall without lifting the heel off the ground, measuring the maximum distance where this is possible.
Normal ankle dorsiflexion is typically around 20 degrees from the neutral position, allowing for functional activities like walking and climbing stairs without strain.
Poor ankle dorsiflexion can be caused by tightness in the calf muscles, previous ankle injuries, or structural abnormalities such as bone spurs.






-template.jpg)
